Beginner’s Guide to Shading and Blending with Colored Pencils
Flat color is fine, but shading is what makes a coloring page come alive. A snowman starts to look round, a bear's fur looks soft, and a castle seems to sit in real light. The good news is that shading isn't a talent you're born with. It's a small set of habits you can practice in a few minutes a day.
This beginner's guide explains how pressure, layering and a simple light-source method work, how to blend two colors, and how to fix the usual problems. It also comes with a free three-page practice sheet. You only need colored pencils and paper.
01The short answer
If you remember only three things, remember these:
- Start light and build up. Many thin layers look smoother than one hard press.
- Pick one light source. Decide where the light comes from, then shade the side away from it.
- Keep a little white. A bright spot on the side facing the light makes shapes look round.
02What you'll need
| Supply | Why it matters | Beginner tip |
|---|---|---|
| Colored pencils | Soft, pigmented pencils layer more easily | A basic 24-pencil set is enough |
| Paper | Smoother paper takes fewer layers, textured paper takes more | Regular printer paper works for practice |
| Pencil sharpener | A sharp point gives cleaner, smoother strokes | Sharpen often |
| Kneaded or soft eraser | Lifts light mistakes | Dab, don't rub |
| Optional: blender pencil | A colorless or light pencil helps smooth layers | Not needed at first |
Pencils come in two main types, wax-based and oil-based. Wax-based pencils are common, soft and easy to find, and they're what most beginner sets use. Oil-based pencils are firmer and tend to leave less waxy build-up. For learning, either is fine. If you're comparing tools, our guide to colored pencils, markers, crayons and gel pens explains where each one works best.
03Free printable: Shading Practice Sheet
We made a three-page printable you can use alongside this guide. It uses bold outlines and plenty of room, so you can practice without worrying about ruining a favorite page.
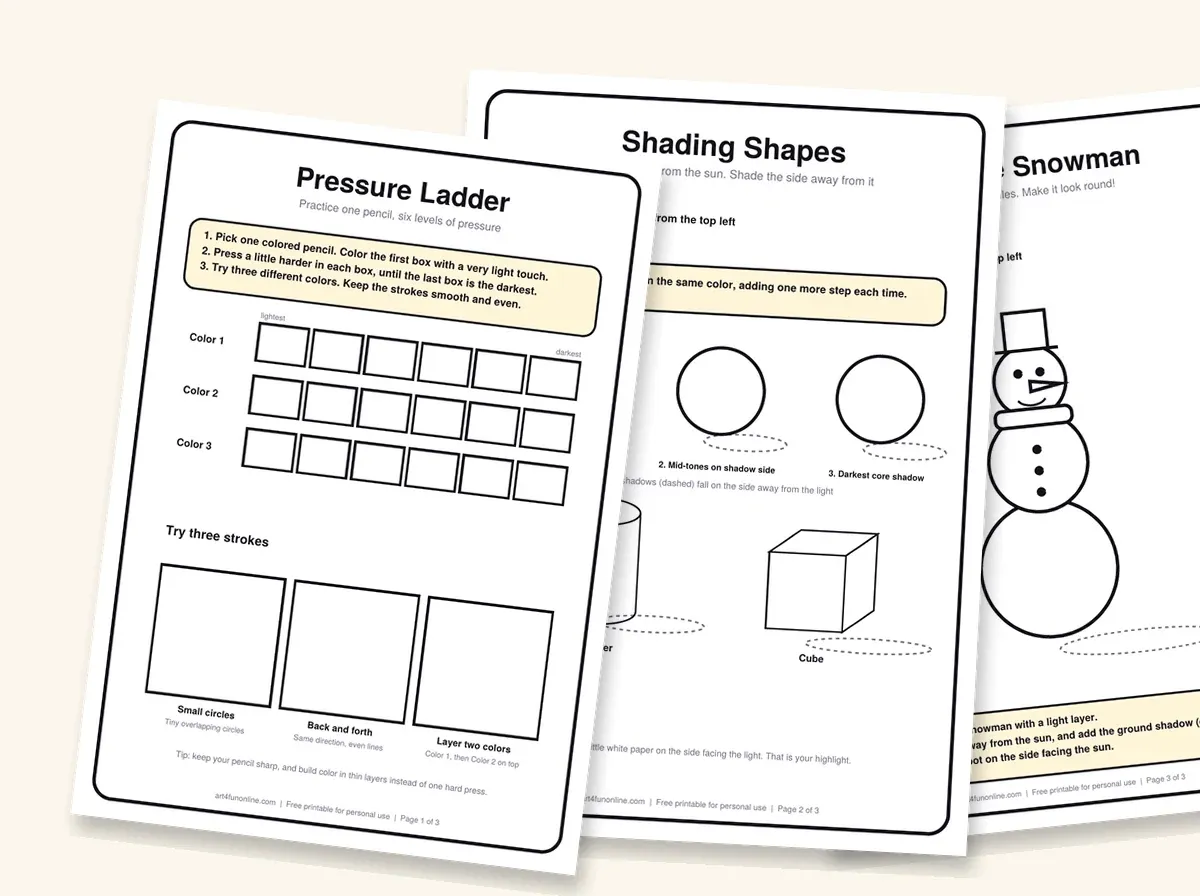
- Page 1, Pressure Ladder: six boxes per color, from lightest to darkest, plus three stroke exercises.
- Page 2, Shading Shapes: three spheres, a cylinder and a cube with a marked light source and cast shadows.
- Page 3, Shade the Snowman: put everything together on a bold, simple snowman.
Download the free Shading Practice Sheet (PDF)
The pages are A4. If you use US Letter paper, choose "Fit to page" in your print settings. For the best results, see our guide to printing coloring pages at home, and use slightly heavier paper if your printer allows it.
04Step 1: Learn pressure control
Pressure is the foundation of shading. The same pencil can make a pale tint or a deep color, depending on how hard you press.
| Pressure | What it looks like | Use it for |
|---|---|---|
| Very light | Pale, see-through color | First layers, highlights |
| Medium | Clear, even color | Base color, mid-tones |
| Firm | Rich, saturated color | Dark shadows, final details |
Start with page 1 of the printable. Color six boxes in a row, pressing a little harder each time. The goal is a smooth ladder with no sudden jumps.

05Step 2: Choose a stroke
How you move the pencil changes how smooth the color looks. Try these three on the printable:
| Stroke | How to do it | Best for |
|---|---|---|
| Small circles | Tiny overlapping circles, moving across the shape | Smooth, even fills |
| Back and forth | Close, parallel lines in the same direction | Fast coverage, soft texture |
| Layering | One color over another, lightly | New colors and depth |
Tip: Keep your strokes in one direction within a shape, and change direction between layers. It helps hide the paper's texture and makes the color look smoother.
06Step 3: Understand light and shadow
Shading works because you're copying what light does to objects. If you decide where the light comes from, you'll know where to put the dark and the bright.
| Part | Where it is | How to color it |
|---|---|---|
| Highlight | The spot closest to the light | Leave white or use the lightest layer |
| Light area | The side facing the light | Light pressure |
| Mid-tone | Between light and shadow | Medium pressure |
| Core shadow | The darkest part on the object | Firm pressure, built in layers |
| Cast shadow | The shadow on the ground, away from the light | Medium to firm, softer at the edges |

07Step 4: Shade a sphere in six steps
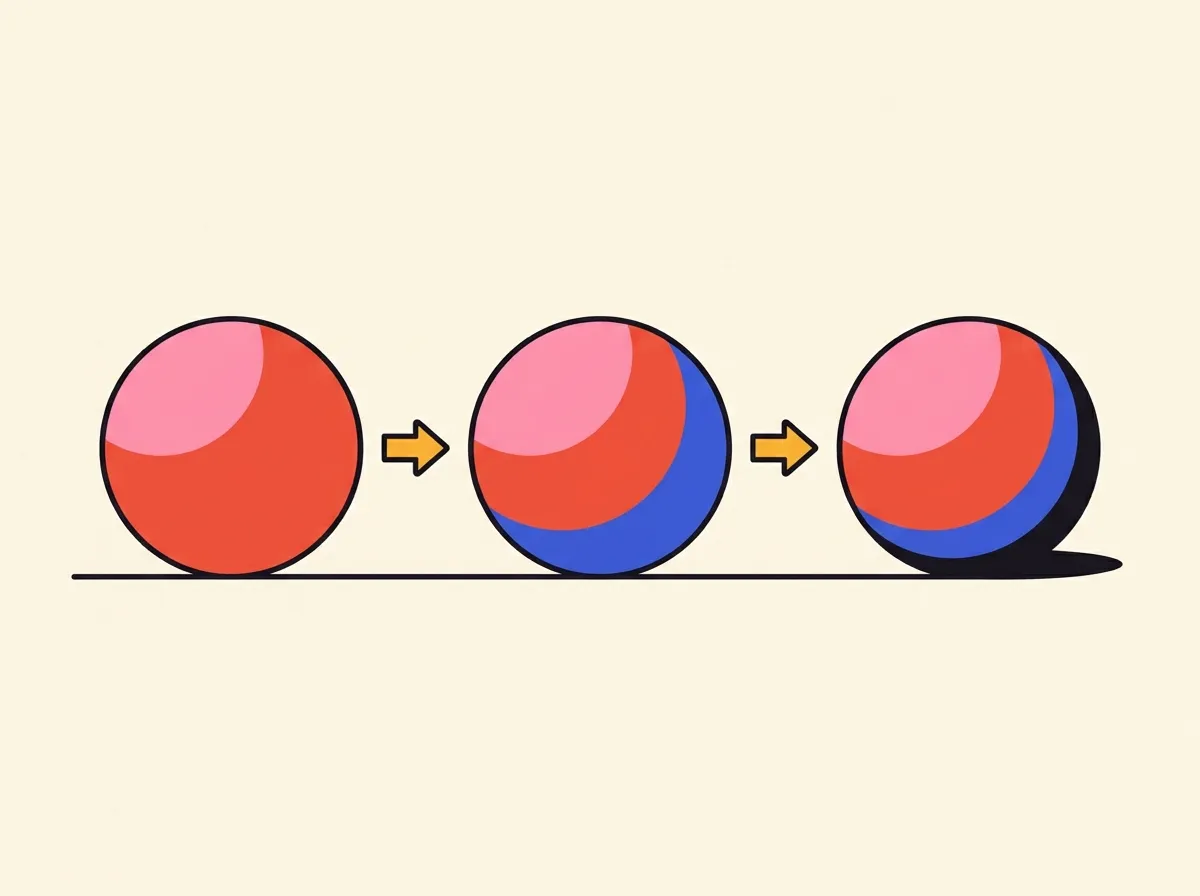
A sphere is the best shape to practice on, because every other shape is built from the same idea. Use page 2 of the printable.
- Choose the light. The printable puts the light at the top left. Keep it there for every shape.
- Color a light layer over the whole sphere, leaving a small white spot near the top left.
- Add the mid-tone. Press slightly harder on the lower right half, blending toward the light.
- Build the core shadow near the lower right edge with firm pressure, in thin layers.
- Add a cast shadow on the ground to the lower right.
- Smooth it out. Go over the transitions with light pressure so there are no hard lines.
Tip: Squint at your drawing. If the shape looks flat, you probably need a darker core shadow.
08Step 5: Blend two colors
Blending lets one color slowly turn into another, such as yellow into orange in a sunset or blue into purple in a night sky.
- Color the first half with Color 1 using medium pressure. Fade your pressure toward the middle.
- Color the second half with Color 2 the same way, fading toward the middle.
- Overlap the two in the center with very light pressure.
- Go over the overlap with the lighter of the two colors to smooth the transition.
This is the same layering you'd practice in our color mixing activities and printable, just used on a gradient.
About burnishing: Some artists finish by pressing hard with a light color or a colorless blender to push pigment into the paper tooth and create a smooth, glossy look. It works best after many thin layers, and it can't be undone, so try it on practice paper first.
09Shading bold, easy coloring pages
You don't need an intricate drawing to practice shading. Bold-outline pages are ideal, because the large shapes give you room to see the effect.
- Pick one light direction for the whole page and stick with it.
- Shade one side of each shape, not every little detail.
- Add a cast shadow under characters so they sit on the ground.
- Use the same dark color for shadows across the page, such as a deep blue or purple, so it feels cohesive.
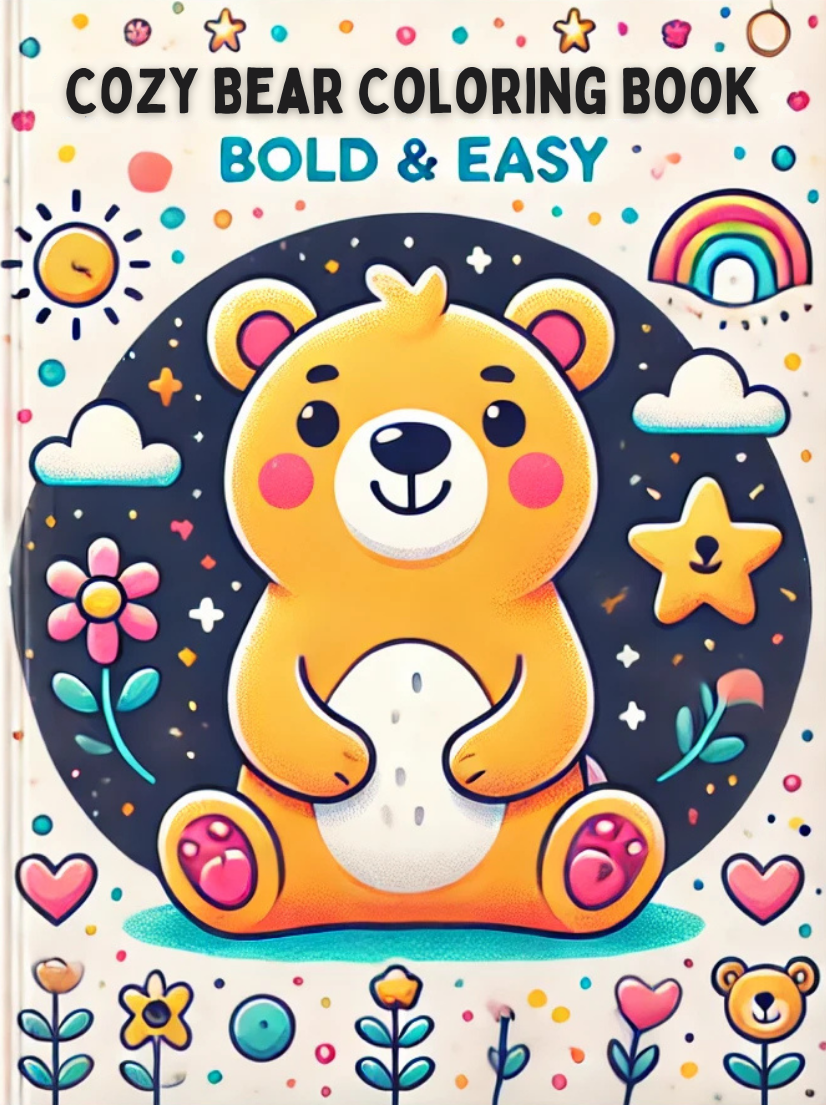
Looking for a first page to try? The Cozy Bear Coloring Book has large, friendly shapes that make shading practice easy. Our guide to choosing a coloring book by age can help you match the page to your level.
010Paper and pencil tips
- Paper matters. Smooth paper fills up after a few layers, while paper with more texture takes more. Heavier paper handles repeated layering better, and our printing guide explains which weight to choose.
- Keep pencils sharp for details, and use the side of the tip for soft shading.
- Relax your grip. A loose hold gives smoother color and tires your hand less.
- Keep a scrap sheet under your hand to avoid smudging finished areas.
- Brush away crumbs with a soft brush instead of your hand, to prevent smears.
011Common problems and quick fixes
| Problem | Likely cause | Fix |
|---|---|---|
| Streaky color | Strokes too far apart or pressure uneven | Use small circles and keep pressure steady |
| Shiny, waxy surface | Heavy first layer | Start lighter and build up gradually |
| Color won't layer | Paper surface is full | Use lighter layers or textured paper next time |
| Shading looks flat | Not enough contrast | Darken the core shadow and keep a highlight |
| Hard lines between tones | Steps too big | Blend with light pressure between areas |
| Muddy colors | Too many colors layered | Use two or three colors per area |
| Smudges | Hand dragging across the page | Rest your hand on a scrap sheet |
012A simple 5-day practice plan
Ten minutes a day is enough to see progress. Here's an easy plan:
- Day 1: Pressure ladder (page 1). Do it with two different colors.
- Day 2: The three strokes. Find the one that feels smoothest.
- Day 3: Shade the spheres (page 2).
- Day 4: Shade the cylinder and cube.
- Day 5: Shade the snowman (page 3), then try shading a page from a coloring book.
Progress is gradual, and every attempt teaches you something. Keep your practice sheets and compare them after a week.
013Safety and comfort
- Sharpen pencils carefully, and have an adult handle sharpening for young children.
- Take short breaks to stretch your hand, wrist and shoulders.
- Work in good light and sit with your back supported.
- Dispose of sharpening shavings safely, away from pets and small children.
For younger children learning pencil control, our guide to coloring and fine motor skills explains what's typical at each age.
014Frequently asked questions
What's the best way to start shading?
Start with pressure control. Practice light-to-dark steps with one pencil, then shade a simple sphere with one light source.
Do I need expensive pencils?
No. A basic set is fine for learning. Better pencils can feel smoother and layer more easily, but technique matters more than price.
How many layers should I use?
It depends on the paper and the pencil. Regular printer paper may only take a few layers, while heavier textured paper can take more. Stop when the paper stops taking pigment.
Can I shade with markers?
Markers are harder to shade with, because the ink is wet and strong. Pencils give much more control, which is why they're the best tool for learning.
Can children learn shading?
Yes, from around 6 or 7, with simple shapes and a lot of encouragement. Younger children usually enjoy flat color and mixing first.
015Keep reading
- Colored Pencils vs Markers vs Crayons vs Gel Pens
- Teach Kids Color Mixing: 6 Activities + Free Printable
- The Complete Guide to Printing Coloring Pages at Home
016Ready to practice?
Start with the free Shading Practice Sheet, and get 4 more preview pages from our free pages. When you want a bigger challenge, Kingdoms to Color: A Fantasy Coloring Adventure has 40 intricately detailed pages of castles, dragons and knights, with plenty of surfaces for shading and layering. You can also browse the full shelf.